

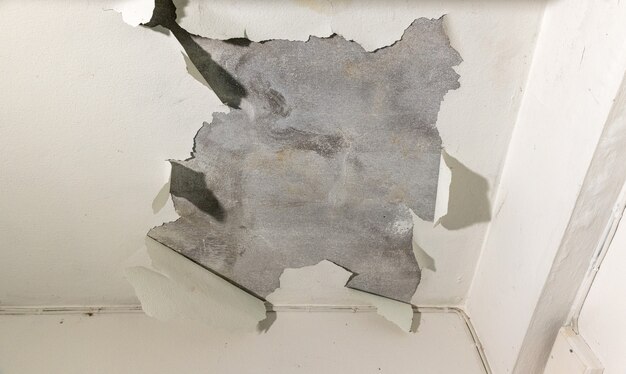
How to Repair Cracks in a Plaster Ceiling?
The classy appearance and elegance are known have in any chamber, the plaster roof meets. In this article, we will be providing a step by step guide on How to Repair Cracks in a Plaster Ceiling that will provide a quick and permanent solution for your queries.
Table of Contents
Materials You’ll Need
- Plaster patching compound
- Joint compound (for wider cracks)
- Mesh tape or adhesive-backed fabric patch
- Sandpaper (various grits)
- Putty knife
- Utility knife
- Drop cloths
- Paint and paintbrush
- Primer
- Safety goggles and a dust mask
- Assessment and Preparation
Before beginning the repair process you’d need to evaluate the severity of your crack. A different approach is taken for hairline cracks from wider cracks. Be sure you have enough light to identify all cracks, and decide if they are active (still moving) or passive (no longer moving). You also want to clear beneath the roof and place drop cloths on the furniture to minimize debris.
Repairing Hairline Cracks
The area must be cleaned: a soft cloth with wet can be used to wipe the area around the crack and take dust, dirt, and loose plaster.
Step 2: Primer (optional): If you plan to paint over the patched area, you may want to use a primer. Feather the edges for a smooth transition to the surrounding surface.
Sanding: After the compound has dried, lightly sand the patched area with fine-grit sandpaper for a smooth finish.
Paint: If painted, cover the patched area with a coat of primer and let it dry. After it dries, paint over the spot so it matches the rest of the ceiling. Feather the paint from the patch out onto the surrounding surface.
Repairing Wider Cracks
Present the crack: Use a utility knife to slightly widen the crack, create a V-shaped gesture. It provides better adhesion for patching compounds.
Apply Aries tape: For broader cracks, apply a switched mesh tape or adhesive-supported fabric patch above the crack. To follow it well, press it firmly.
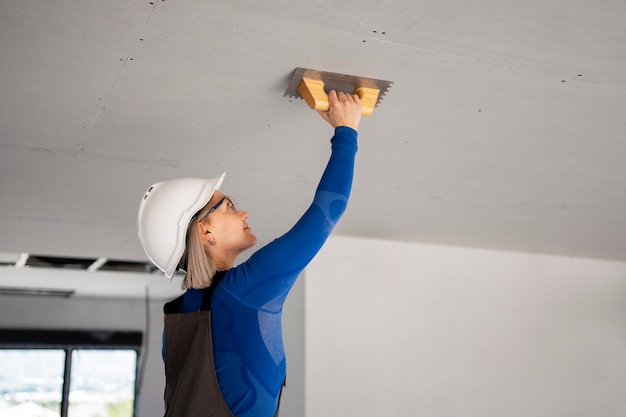
Apply the combined compound: Use a putty knife to apply a layer of joint compound on Aries tape, spread it slightly beyond the edges of the tape. Give wings to the compound to create a smooth transition.
Sanding: Once the combined compound is dry, sandpaper is progressively sanded with fine grits.
Primer and Paint: Apply a primer to the patched area and let it dry. Follow with painting, so that the paint with the surrounding roof is sure to blend.

Dealing with Larger Structural Issues
In some cases, cracks may be a sign of underlying structural problems. If the cracks are re -appeared in spite of repeated repair, or if they are accompanied by other signs such as sagging, it is advisable to assess the issue and recommend a proper treatment to a professional structural engineer.
Safety Precautions
Wear safety goggles (and a dust mask) while you are working to protect your eyes and your breathing from dust and debris.

Ensure proper ventilation in the room to dissipate dust and fumes.
All materials used should be followed as per manufacturer instructions — from drying times to application techniques.
Fix your cracked plaster roof and you will ensure the beauty of your home and well-being. With the step-by-step walk through described above, you should feel confident to repair both a fat hairline crack, and wide cracks. Maintaining and repairing your plaster roof on time not only improves the way your space looks but also increases the lifespan of your plaster roof. Keep in mind, if you struggle with structural problems or encounter repair debates, professional help is always a solid choice.
READ NEXT: How to Design Ceiling with Plaster of Paris?