

How to Plaster a Ceiling – Beginner’s Guide
Wonder how to plaster a ceiling? Plaving a roof can seem like a difficult task, especially for beginners, but with the right guidance and a step-by-step approach, you can achieve a smooth and professional looking finish. Whether you are renewing your home or just looking to refresh the appearance of a room, turning the roof can be a significant difference. In this initial guide, we will successfully walk through the steps required to plaster the roof.
Table of Contents
How to Plaster a Ceiling
Tools and Materials You’ll Need:
Before starting, gather the equipment and materials required to ensure a spontaneous fourth process:
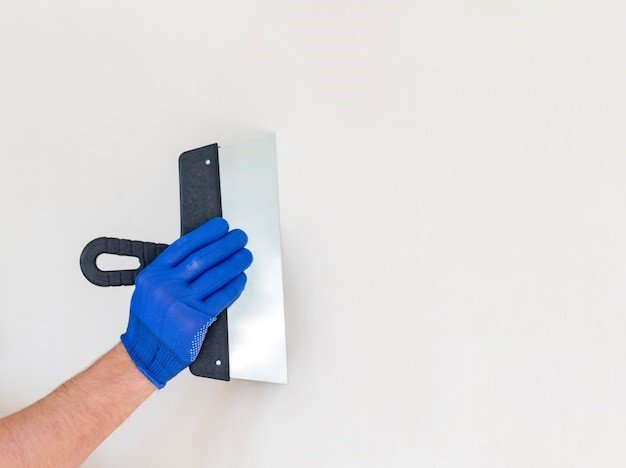
- Plastering trowel
- Hawk (a flat surface to hold plaster)
- Mixing bucket
- Mixing paddle or drill with a mixing attachment
- Plaster (pre-mixed or dry mix)
- Clean water
- Drop cloths or plastic sheeting
- Sandpaper
- Paintbrush
- Primer and paint (for finishing)
Step 1: Preparation
- Clean the room: Cover the furniture from the path or cover it with a drop cloth to protect it from plaster splator.
- Protect the floor: Cover the floor with a drop cloth or plastic sheeting to catch any falling plaster.
- Clean the roof: Remove any loose paint, debris or dirt from the roof surface using a brush or vacuum.
- Repair cracks and holes: Fill any crack or hole in the roof with joint compound or filler. Allow it to dry and lubricate it.
Step 2: Mixing the Plaster
- Read the instructions: If using pre-mixed plaster, follow the manufacturer’s instructions. For dried mixture, see the mixture ratio on the packaging.
- Prepare the mixing area: Set your mixing area with mixing bucket, clean water and mixing paddle or drill.
- Add plaster: Stirly pour plaster into the water while stirring continuously. Target for a creamy stability with which it is easy to work with.
Step 3: Applying the Plaster
- Load the Hawk: Scoop plaster on the hawk using your plastering trowel.
- Apply plaster: Start on a corner, use a dubbing motion to apply plaster on the roof. Spread it in thin layers evenly.
- Work in sections: Work across the roof in small sections, maintaining a consistent thickness while avoiding additional buildups.
- Wing edges: Wing to the edges of each section for a smooth transition between plaster and non-destructive areas.
Step 4: Smoothing and Finishing
- Wait for the initial set: Allow the plaster to be set for about 20-30 minutes, until it is a firm to touch but still not slightly moist.
- Float and smooth: Flot a moist plastering trowel on the surface to gently complete the flaws and get a smooth finish.
- Apply additional layers: Depending on the desired finish and roof position, you may need to apply several layers.
- Allow each layer to set before adding.
Step 5: Drying and Final Touches
- Allow Drying: Let the plaster dry completely, typically taking 24-48 hours.
- Sand and Prime: After drying, lightly sand uneven areas and wipe away dust. Apply a primer before painting for better adhesion.
Step 6: Painting
- Choose paint: Select a paint suitable for the roof, preferably with a flat or matte finish.
- Paint the roof: Use a roller to apply paint evenly. Apply several coats if necessary, allow each coat to dry before the next.
Tips for Success:
- Practice on a small area before dealing with the entire roof.
- Place the plaster on the correct stability for easy application.
- Use stable, even pressure while applying plaster.
- Keep the trowels clean to avoid lines in plaster.
- Sand between the coat for a smooth finish.
A roof requires patience and practice to turn, but after this initial guide you will set you to the right path. With time and experience, you will gain confidence and skills, and you will be able to get a beautifully plaster roof that enhances the overall look of your location.